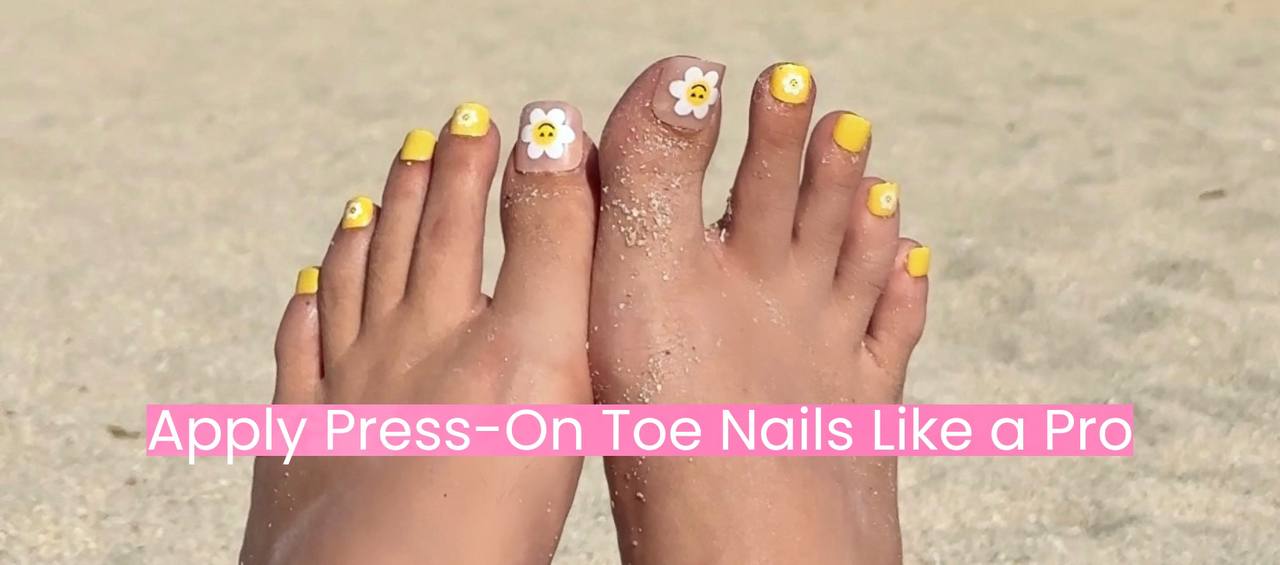
Apply Press-On Toe Nails Like a Pro
Looking for a flawless at-home pedi without the salon price tag? Press-on toe nails are your go-to solution. They're quick, affordable, and incredibly easy to apply. Whether you're getting ready for a beach day or just want a polished look year-round, here’s how to apply press-on toe nails like a true pro.
Step 1: Prep Your Natural Nails
Start by washing your feet with warm water and soap. Remove any polish, push back your cuticles, and lightly buff the nail surface so the glue can adhere better.
Step 2: Choose the Right Size
Select the best-fitting nail for each toe. If you’re between sizes, go smaller and file the edges for a custom fit.
Step 3: Apply the Glue
Add a thin, even layer of nail glue to both your natural nail and the press-on. Don’t overdo it—too much glue causes air bubbles and mess.
Step 4: Press and Hold
Place the press-on nail starting at the cuticle and press down firmly for at least 30 seconds. This step is key to avoiding early lifting.
Step 5: Shape and File
Once all nails are on, use a nail file to shape them. Whether you’re into square, round, or almond, it’s all about your personal style.
Step 6: Hydrate & Finish
Apply cuticle oil around each toe to hydrate your skin and give your pedi a professional finish.
Tips for Long-Lasting Wear
-
Avoid water for at least 2 hours after application.
-
Wear socks overnight to help seal the bond.
-
Reapply glue if corners lift.
-
Use high-quality glue for max durability.
Shop the Look
Ready to upgrade your pedicure game?
👉 Shop our Press-On Toe Nails Collection
📲 Stay Connected
Want more beauty hacks?
Follow us on Instagram @myposhmellow and subscribe to our newsletter for exclusive offers and new arrivals!


